


A Practical Guide on How to Groom Dogs at Home

Grooming your dog at home is more than just a bath and a haircut—it's an opportunity to build trust and ensure your pet is comfortable. The key to success is starting with short, positive sessions. This guide provides actionable steps to make the entire experience enjoyable for both of you, transforming a chore into a bonding activity.
Creating a Calm Grooming Environment
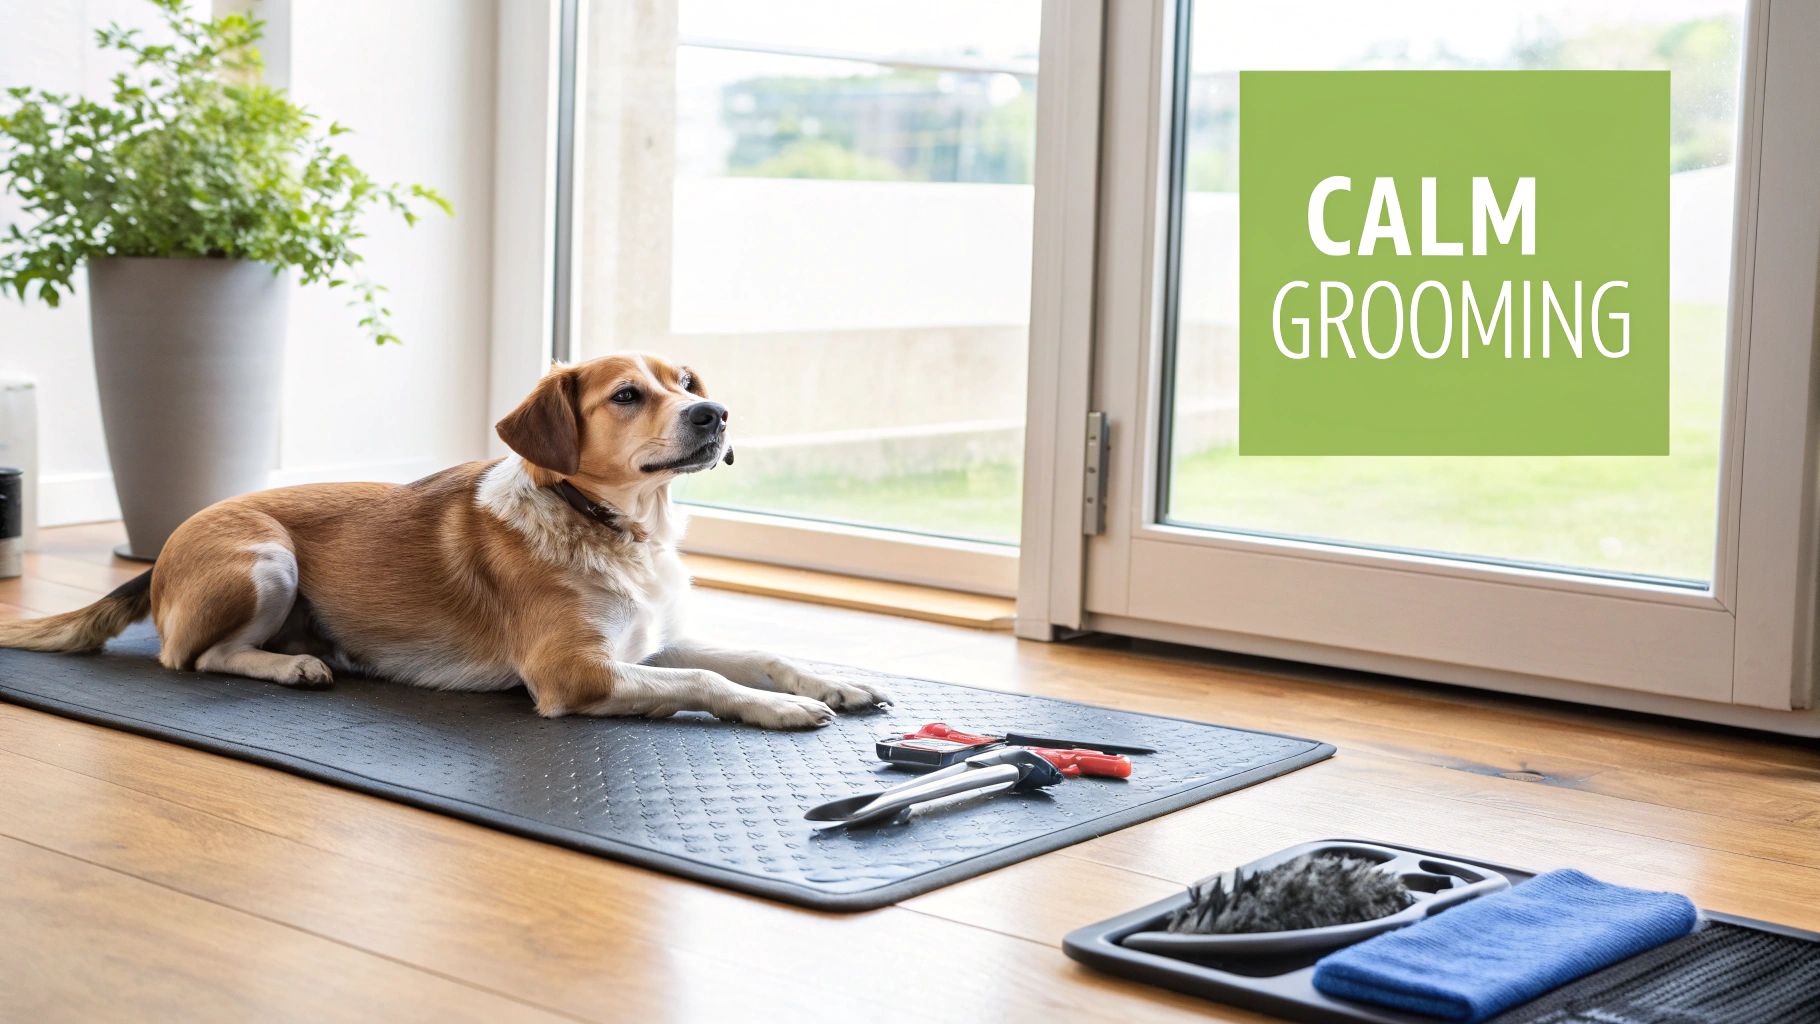
Before you pick up a brush, set the stage for a calm session. A successful groom starts with an environment where your dog feels safe, not cornered. If your dog is anxious, you're already fighting an uphill battle. Your primary goal is to create a peaceful and secure space.
The global pet grooming market is projected to hit USD 17.94 billion by 2025 and is expected to more than double by 2035, reflecting a deep commitment from owners to their pets' well-being. Your actions at home are part of this powerful trend.
Choose Your Grooming Location Wisely
Select a quiet, well-lit space that’s easy to clean. A bathroom or laundry room is ideal because it limits distractions and contains the inevitable mess. Avoid high-traffic areas like the living room, where activity can cause stress.
For your flooring, consider the best hardwood floor finish for dogs to protect against scratches and spills. Regardless of the location, place a non-slip mat on the floor or in the tub. This gives your dog stable footing, which is crucial for their sense of security.
Actionable Tip: A dog on a slippery surface is already anxious. A simple non-slip mat is one of the most effective tools for reducing grooming stress right from the start.
Master the Art of Timing
Grooming a dog bursting with energy is a recipe for failure. Schedule your sessions after a long walk or a vigorous play session. A physically tired dog is mentally calmer and far more cooperative.
Pay close attention to your dog's mood. If they seem unusually anxious or "off," postpone the session. Forcing it will create a negative association with grooming that is difficult to undo. The goal is to establish a predictable, calm routine, not a stressful ambush.
Introduce Tools with Positive Reinforcement
New grooming tools can appear intimidating. The sound of clippers or the feel of a new brush can trigger fear. Your job is to reframe these tools as positive objects that predict rewards.
Follow these steps:
- Step 1: Allow Inspection. Place a new tool, like a brush or nail clippers, on the floor. Let your dog sniff it without pressure. When they approach it calmly, immediately give them a high-value treat.
- Step 2: Desensitize to Sounds. For noisy tools like a grinder or dryer, turn it on for a few seconds in another room. Reward your dog for staying calm. Over several days, gradually decrease the distance, always pairing the sound with treats.
- Step 3: Start Small. The first "grooming" session might be just clipping a single nail or one swipe with the brush, followed by immediate praise and a treat. Always end on a positive note, long before your dog shows signs of stress.
This patient process builds a foundation of trust. It teaches your dog that grooming tools aren't threats—they signal good things. This simple shift can transform their fear into positive anticipation, making every future session easier.
Building Your At-Home Dog Grooming Toolkit
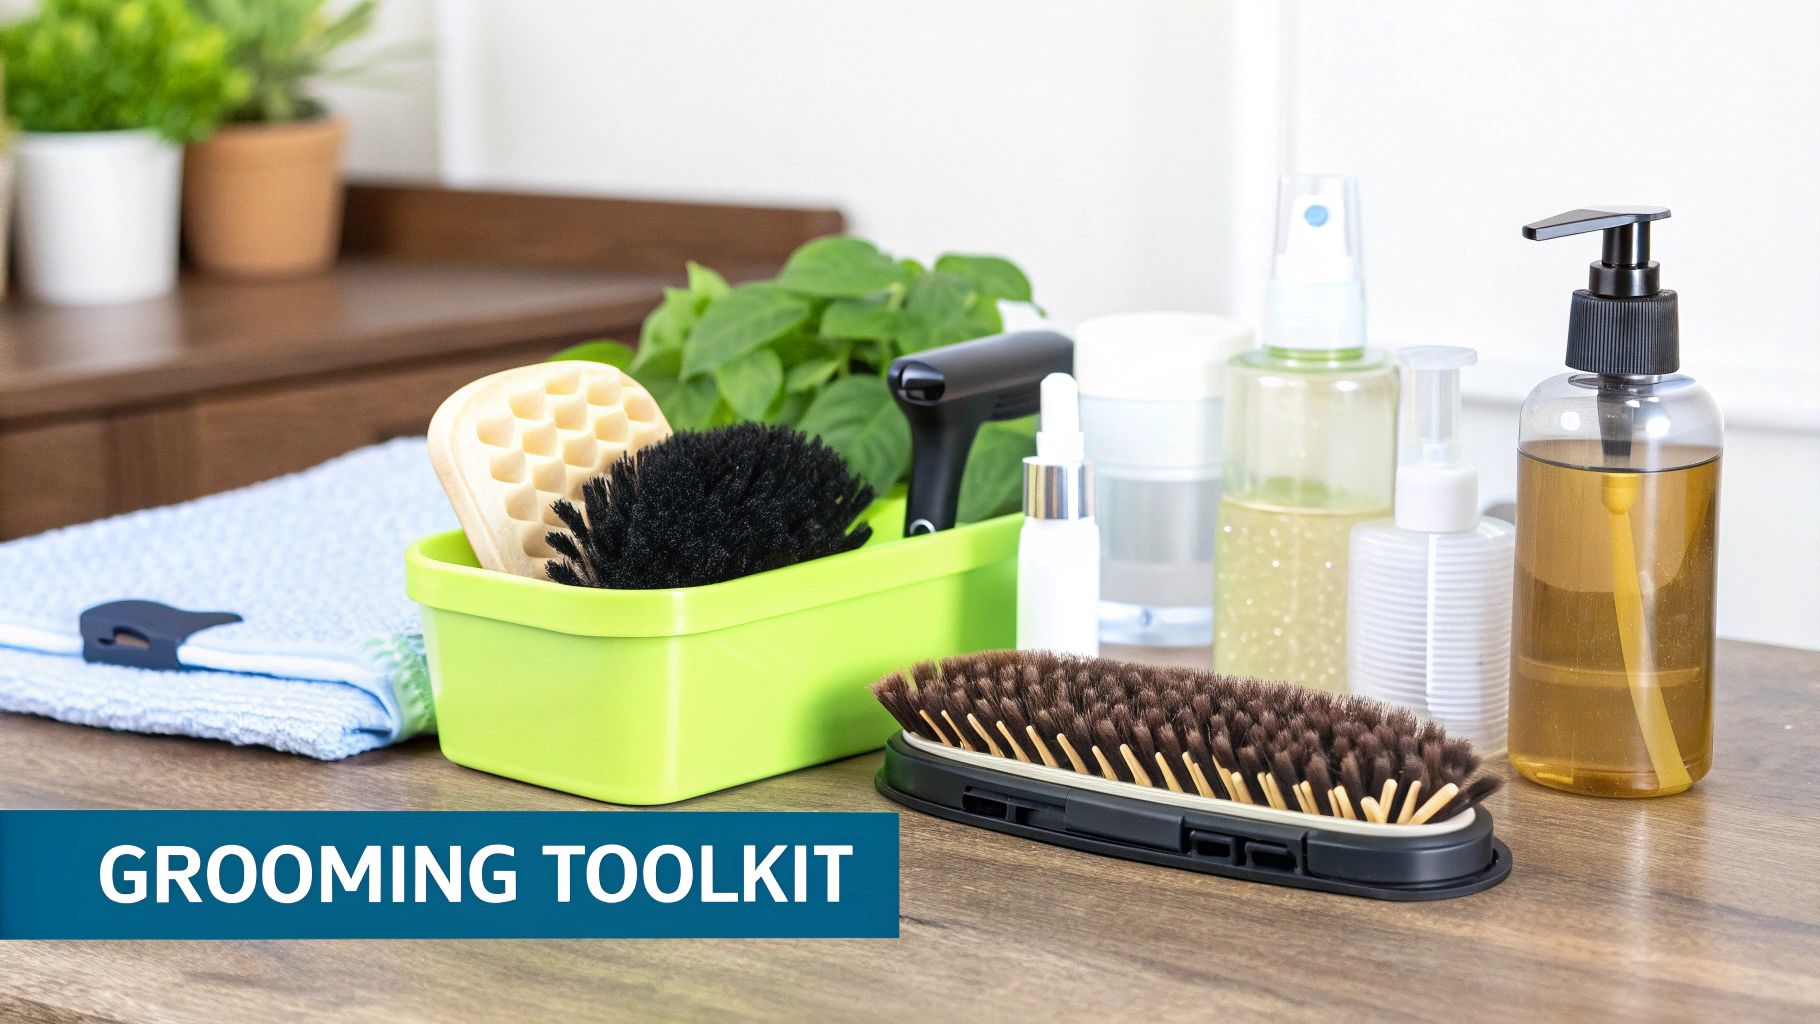
The pet supply aisle can be overwhelming, but you don't need a professional salon in your home. An effective toolkit consists of a few high-quality tools tailored to your dog's specific needs.
Investing in the right equipment is a smart move. The U.S. pet grooming industry is projected to reach $15.5 billion by 2025, a clear sign that owners view grooming as essential.
Brushes and Combs: The Foundation of Good Grooming
The right brush is your most important tool. Using the wrong one is ineffective and can be painful for your dog, turning grooming into a struggle. The correct choice depends entirely on your dog’s coat type.
- Slicker Brush: Features fine, short wires on a flat head. Essential for dogs with medium-to-long hair or thick double coats (e.g., Golden Retrievers, Huskies). It excels at removing loose undercoat and detangling.
- Pin Brush: Resembles a human hairbrush with widely spaced pins. Ideal for long, silky coats (e.g., Yorkshire Terriers), as it glides through hair without causing breakage.
- Bristle Brush: Best for short, smooth-coated dogs (e.g., Beagles, Pugs). It removes loose hair and distributes natural skin oils, promoting a healthy shine.
- Undercoat Rake: A non-negotiable tool for heavy shedders (e.g., German Shepherds, Malamutes). It reaches deep into the dense undercoat to remove dead fur before it can form mats.
After the initial brush-through, use a stainless steel comb to find smaller tangles the brush may have missed, especially around the ears and under the legs. For a deeper dive, explore this guide to the best grooming tools for dogs.
Essential Grooming Tools by Dog Coat Type
This quick-reference table helps you choose the right tools to keep your dog’s coat healthy and mat-free.
| Coat Type | Primary Brush | Key Supplementary Tools | Actionable Tip |
|---|---|---|---|
| Short & Smooth | Bristle Brush | Rubber Curry Brush, Chamois | Use the curry brush in circles before bathing to loosen dead hair and stimulate skin. |
| Double Coat | Undercoat Rake, Slicker Brush | Stainless Steel Comb, Dematting Tool | Action: Always use the rake first to clear the undercoat. This prevents painful pulling with the slicker brush. |
| Long & Silky | Pin Brush | Stainless Steel Comb, Detangling Spray | A light spritz of detangling spray before combing makes removing knots effortless. |
| Curly & Wiry | Slicker Brush | Poodle Comb, Mat Splitter | Action: Brush small sections at a time, from root to tip, to prevent surface-level grooming that misses deep mats. |
Using the right tools turns a dreaded chore into an effective bonding experience.
Must-Haves for Nails, Ears, and Bath Time
Beyond brushing, a few other items are critical for a complete grooming routine focused on health and hygiene.
For nails, choose between nail clippers (scissor or guillotine style) and a nail grinder. Clippers are fast, while a grinder offers more control by filing the nail down, reducing the risk of cutting the quick. The best tool is the one you and your dog are most comfortable with.
For bath time, always use a dog-specific shampoo. Human shampoos have the wrong pH and can strip natural oils, causing skin irritation. Look for a gentle, soap-free formula; an oatmeal-based shampoo is excellent for sensitive skin.
Actionable Tip: Invest in high-quality, ergonomic nail clippers or a low-noise grinder. Using a tool that makes you feel confident reduces your anxiety, and your dog will notice and relax.
Finally, have a dog-specific ear cleaning solution and cotton balls on hand. Never use cotton swabs, as they can push debris deeper into the ear canal and cause injury. A gentle wipe of the outer ear is all that's needed to maintain hygiene and spot potential issues early.
Mastering Brushing and Bathing Techniques
With your station and tools ready, it's time to focus on technique. Proper brushing and bathing are fundamental to your dog's skin health and comfort. Mastering these skills elevates your at-home grooming from a simple clean-up to a pro-level wellness session.
Effective brushing goes beyond a quick skim over the topcoat. The real work happens near the skin, where mats form. Your goal is to detangle, remove loose fur, and stimulate circulation without causing discomfort.
Brushing with Purpose: The Line Brushing Method
For dogs with thick, double, or long coats (e.g., Golden Retrievers, German Shepherds), you must use a technique called line brushing to reach the dense undercoat.
Here’s your step-by-step guide:
- Start at the Bottom: Begin at your dog’s paws and work your way up their body in sections.
- Create a Part: Use your free hand to lift a section of fur, creating a clean horizontal line, or "part," exposing the skin.
- Brush Down from the Root: With your slicker brush or undercoat rake, brush the hair down and away from the part. Start each stroke at the skin and move outward.
- Advance Upward: Once a section is completely tangle-free, create a new part about an inch above the previous one and repeat the process.
This methodical approach ensures you address every layer of fur, effectively preventing painful mats from forming. Find the perfect tool for your dog by consulting this guide on the best grooming brush for dogs.
Gently Conquering Tangles and Mats
When you encounter a knot, do not pull or rip the brush through it. This causes pain and creates a negative association with grooming.
Instead, follow these steps:
- Secure the Hair: Firmly grip the fur between the mat and your dog's skin. This prevents the pulling sensation on their skin.
- Use a Detangling Spray: A light spritz adds slip, making it easier to work through the knot.
- Work from the Outside In: Use the corner of your slicker brush or the tip of a steel comb to gently tease the outer edges of the mat apart, slowly working toward the center.
Actionable Tip: Patience is your most valuable tool. Spending five minutes to gently work out one mat is better than causing pain and losing your dog's trust for all future sessions.
The Art of a Stress-Free Bath
For many dogs, bath time is anxiety time. A calm approach and proper preparation can transform it into a pleasant experience. Have everything you need ready before you turn on the water.
Your first step is setting the water temperature. Aim for lukewarm water—not too hot or cold. Test it on your inner wrist, just as you would for a baby's bath. Water that is too hot can scald their skin, while cold water is a shock to their system.
Protecting Sensitive Areas
Before lathering, take a moment to protect your dog’s sensitive areas. A few simple actions can prevent significant discomfort.
Gently place a large cotton ball (do not pack it in) in each ear to help keep water out of the ear canal and reduce the risk of infection. A single drop of pet-safe eye ointment or plain mineral oil can also shield their eyes from shampoo.
After soaking your dog, apply a dog-specific shampoo and work it into a gentle lather. Massage it deep into their coat while speaking in a calm, reassuring voice. The most critical step is rinsing. Soap residue is a primary cause of post-bath itching. Rinse thoroughly until the water runs completely clear and their fur feels free of any slickness.
Drying Done Right
The final step, drying, is just as important as washing. Your method should depend on your dog’s coat and tolerance.
For short-haired dogs like Boxers, a vigorous towel-dry with an absorbent towel may be sufficient.
For dogs with thick or long coats like Poodles, air-drying is not recommended, as it can trap moisture against the skin and lead to hot spots or mildew. Use a pet-specific hair dryer on a low-heat, low-speed setting. Keep the dryer moving and hold it a safe distance from their skin to prevent burns. This dries them efficiently while fluffing the coat and preventing tangles.
Essential Care Beyond the Coat
A beautiful coat is just one part of a well-groomed dog. True comprehensive care includes mastering nail trims, ear cleaning, and dental hygiene. These tasks are critical for your dog’s overall health and comfort.
This holistic approach is gaining traction. Dogs account for 83% of the global pet grooming market, valued at USD 6.89 billion in 2024. This highlights that owners recognize whole-body care is essential, whether done professionally or at home. You can read more about the growth of the pet grooming industry on GlobeNewswire.
Navigating the Nail Trim
Trimming a dog’s nails can be nerve-wracking due to the fear of cutting the quick—the blood vessel inside the nail. A calm approach and proper technique make it a manageable task. Your tool options are clippers or a grinder; choose whichever makes you feel most confident.
How to Spot the Quick
- Light-Colored Nails: The pink quick is visible. Clip small amounts at a time, staying well clear of the pink area.
- Dark or Black Nails: This requires more care. Trim tiny slivers off the end and examine the cut surface. You will first see a dry, whitish circle. As you near the quick, a small, dark, fleshy-looking dot will appear in the center. Stop immediately when you see this dot.
For help choosing the best tool, our guide on how to choose the right dog nail cutter provides a detailed comparison.
Keeping Ears Clean and Healthy
A dog's ears are delicate, and breeds with floppy ears are prone to infections. Regular cleaning is your best defense. A healthy inner ear should be pale pink, clean, and free of strong odors.
The Golden Rule: Never insert anything deep into the ear canal, especially cotton swabs. This can cause serious damage.
Actionable Step: Your job is to clean only what you can see. Apply a vet-approved ear cleaning solution to a cotton ball or gauze pad. Gently wipe away wax and debris from the outer ear flap and the entrance to the canal.
Perform this check weekly to catch early signs of problems like redness or discharge. If you notice anything unusual, contact your veterinarian.
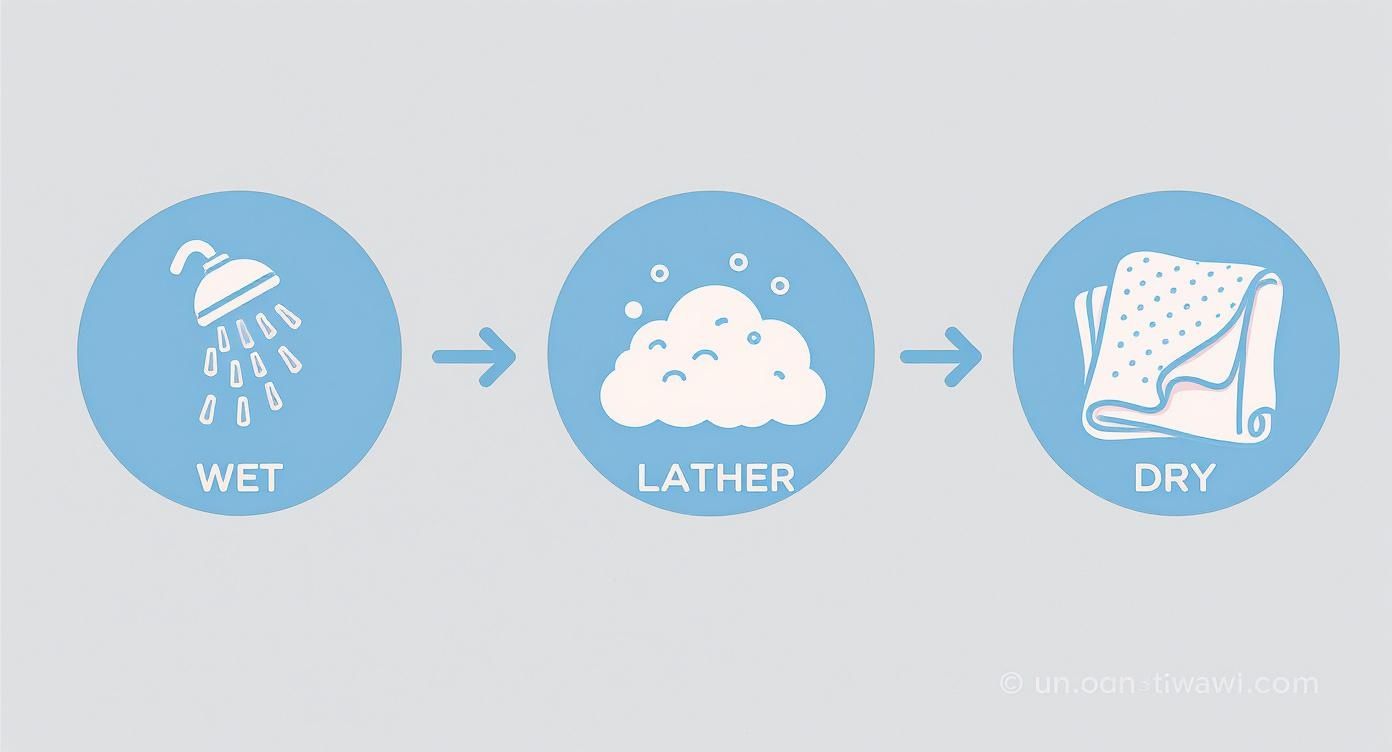
This graphic shows the simple foundation of a good bath: wet, lather, dry. Mastering this basic sequence is key to a successful and stress-free bath time.
Promoting Good Dental Health
Dental disease affects approximately 80% of dogs by age three, making it one of the most common health issues they face. Brushing your dog’s teeth is the most effective way to prevent plaque and tartar buildup.
To start, introduce the process gradually. Let your dog lick dog-safe toothpaste (in flavors like beef or chicken) first from your finger, then from the toothbrush.
When you're ready to brush:
- Gently lift their lip to expose their teeth and gums.
- Hold the brush at a 45-degree angle to the teeth.
- Brush in small, circular motions, focusing on the outer surfaces where plaque accumulates most.
Keep initial sessions very short and positive. If you only brush a few teeth at first, that’s a success. If your dog resists a toothbrush, dental wipes, water additives, and dental chews are excellent alternatives to help maintain oral hygiene.
Building a Consistent Grooming Routine
View grooming as a regular part of your dog’s wellness plan, not an occasional chore. A consistent routine makes grooming a predictable and normal part of life, which significantly reduces stress for both of you.
This isn't about a rigid schedule but a flexible framework you can adapt to your dog’s specific needs. This approach is the key to making how to groom dogs at home a sustainable and positive practice.
So, How Often Should You Groom Your Dog?
There is no one-size-fits-all answer. A short-coated Boxer has vastly different needs than a high-maintenance Poodle. The ideal schedule depends on your dog’s breed, coat type, and lifestyle.
For instance, an active German Shepherd who hikes frequently will require more brushing and tick checks than a mostly indoor companion. A dog that loves swimming will need more frequent ear cleanings to prevent infections.
Actionable Mindset: Good grooming is proactive, not reactive. Spending 10 minutes brushing a few times a week is far easier than dealing with painful mats that have formed over weeks of neglect.
Creating Your Custom Grooming Schedule
To build a routine that works, break grooming into smaller tasks and set a realistic frequency for each based on your dog's needs. Use the following as a baseline and adjust as you learn what works best.
Grooming Frequency by Task:
- Brushing: Long-haired or double-coated dogs often need daily brushing. Short-haired breeds may only need a weekly brush-through.
- Nail Trimming: A general guideline is every 3-4 weeks. If you can hear their nails clicking on the floor, they are too long.
- Bathing: For most dogs, a bath every 4-6 weeks is sufficient. Over-bathing can strip natural oils from their skin.
- Ear Cleaning: Check ears weekly, especially for floppy-eared breeds. Clean only when you see dirt or wax buildup.
- Teeth Brushing: For optimal dental health, aim for several times a week, or even daily.
Sample Grooming Frequency Guide
Use this chart as a starting point for your dog’s personal grooming schedule. Adjust it based on your dog's lifestyle and coat condition.
| Grooming Task | Short Coat (e.g., Boxer) | Double Coat (e.g., Husky) | Long/Curly Coat (e.g., Poodle) |
|---|---|---|---|
| Brushing | Weekly | 3-5 times per week (daily during shedding season) | Daily |
| Bathing | Every 6-8 weeks, or as needed | Every 4-6 weeks, more if very active outdoors | Every 3-4 weeks to prevent matting and buildup |
| Nail Trimming | Monthly | Monthly | Every 3-4 weeks |
| Ear Check | Weekly | Weekly | Weekly (prone to infections due to hair) |
| Teeth Brushing | 2-3 times per week | 2-3 times per week | 3-5 times per week |
The best routine is one you can maintain consistently. Start small, stay positive, and listen to your dog’s cues. This consistency builds trust and turns at-home grooming into a rewarding bonding experience.
Common Home Grooming Questions Answered
Even with a solid plan, you'll encounter challenges when grooming your dog at home. Here are direct answers to common questions to help you navigate tricky situations with confidence.
These core principles apply to nearly any situation, regardless of your dog’s unique personality.
How Can I Calm an Anxious Dog During Grooming?
The key is to slowly change their perception of grooming from a scary event to a positive one. Start by simply introducing the tools. Let your dog sniff a brush, then immediately reward them with a high-value treat.
Actionable Strategy: Use a lick mat with dog-safe peanut butter to create a positive distraction. It gives your dog something enjoyable to focus on while you work. Keep initial sessions extremely short—30 to 60 seconds of light brushing is plenty. Gradually increase the duration as they become more comfortable.
Pro Tip: Your energy matters. Dogs are highly attuned to our moods. If you are stressed, they will be too. Take a deep breath, use a calm and happy tone, and project confidence, even if you have to fake it at first.
What Is the Safest Way to Handle Mats and Tangles?
Never use scissors to cut out a mat. It is incredibly easy to cut the skin, which gets pulled up into the knot. Instead, start with a good detangling spray to add lubrication.
Next, hold the fur at the base of the mat, flat against the skin, to prevent painful pulling. Use a mat-splitter or the tip of a steel comb to gently pick the knot apart, working from the outer edges inward. Patience is critical.
If a mat is severe and tight against the skin, the safest and kindest option is to call a professional groomer. They have the experience and tools to shave it out without causing injury.
When Should I Choose a Professional Groomer Instead?
At-home grooming is excellent for maintenance and bonding, but professional groomers are essential partners in your dog's care. Certain jobs are best left to experienced hands.
Book an appointment with a professional if:
- Your dog has severe or widespread matting. This requires a skilled hand and specialized clippers to resolve safely.
- You want a complex, breed-specific haircut. Achieving a perfect Poodle or Schnauzer cut requires professional training.
- Your dog shows significant fear or aggression. A professional is trained to handle difficult dogs safely and can offer behavioral advice.
- You suspect a skin issue. Groomers are often the first to notice rashes, hot spots, or parasites that require veterinary attention.
Visiting a professional groomer isn't a failure; it's a smart way to supplement the excellent care you provide at home.
For all the essential tools that make grooming at home safer, easier, and more enjoyable, explore the thoughtfully designed products from Pet Magasin. Find everything you need, from ergonomic brushes to durable nail clippers, at https://www.petmagasin.com.

Leave a comment