


A Practical Guide on How to Clean Dog Ears

Cleaning your dog's ears is a critical health routine, not just grooming. The goal is to flush the ear canal with a vet-approved solution, clearing out wax and debris. Executed correctly, this simple action is one of the most effective ways to prevent painful infections and ensure your dog's comfort.
Why You Need to Clean Your Dog's Ears
Regular ear cleaning is a non-negotiable part of your dog's health care. Unlike human ears, a dog's ear canal is L-shaped, creating a natural trap for moisture, wax, and debris.
When this material builds up, it creates a warm, damp environment where yeast and bacteria thrive. This frequently leads to painful ear infections, which can result in significant discomfort, costly vet visits, and even hearing loss if left untreated. A few minutes of preventative cleaning can save weeks of treatment and distress.
Anatomy and Breed-Specific Risks
Ear shape dictates risk. A Basset Hound's long, floppy ears trap moisture by design, limiting air circulation far more than the upright ears of a German Shepherd. This makes floppy-eared breeds significantly more susceptible to chronic ear issues.
Pay close attention if you have one of these breeds:
- Cocker Spaniels: Their heavy, hairy ears severely restrict airflow.
- Basset Hounds: Long, droopy ears create an ideal environment for yeast.
- Labrador Retrievers: Swimming frequently traps water in the ear canal.
- Poodles: Hair often grows deep inside the canal, trapping wax and debris.
Actionable Insight: Regular ear cleaning elevates you from a pet owner to a proactive health partner. It's a direct action you can take to prevent pain and strengthen your bond.
The global pet ear cleaners market is projected to grow from USD 425 million in 2024 to USD 685 million by 2033, reflecting a growing owner awareness. Preventing ear infections—which affect up to 20% of dogs annually—is a cornerstone of modern pet care. With 69 million U.S. households owning dogs, the demand for effective hygiene products is driven by the understanding that prevention is better than cure.
For broader pet care guidance, you can find additional resources to support your pet's well-being. Integrating ear cleaning into a consistent grooming schedule is a powerful strategy for long-term health. To determine the right frequency for your dog, you can learn more about how to create a complete grooming plan.
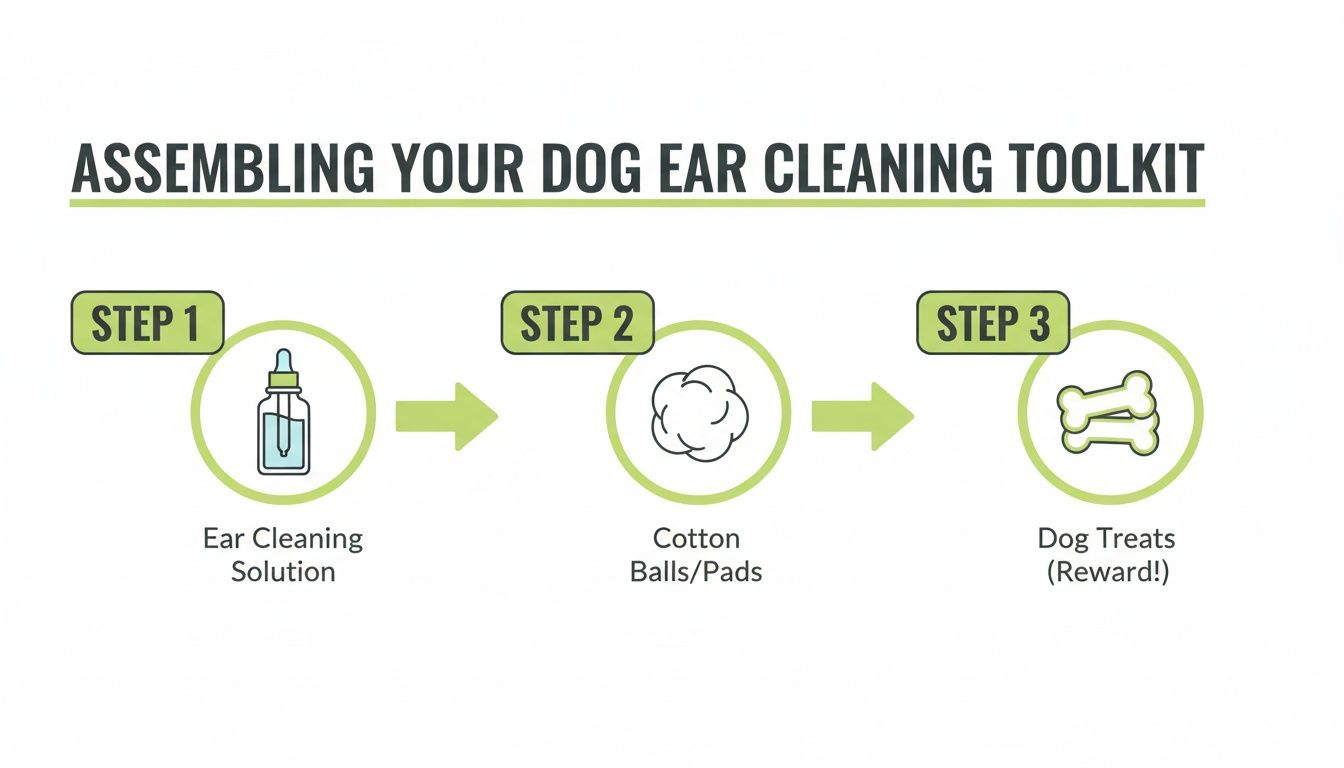
Assembling Your Dog Ear Cleaning Toolkit
Having the right tools ready before you start transforms ear cleaning from a stressful struggle into a smooth, efficient task. A well-prepared kit is the first step toward a safe and comfortable experience for your dog.
The most critical item is a veterinarian-approved ear cleaning solution. Do not use DIY home remedies like vinegar or hydrogen peroxide. Select a formula that is pH-balanced for a dog’s sensitive ear canal. Gentle, non-stinging ingredients are non-negotiable.
Avoid products containing alcohol or hydrogen peroxide, as they cause irritation, stinging, and dryness, making your dog fearful of future cleanings. A quality solution will dissolve wax and debris effectively without causing discomfort.
Choosing Your Cleaning Materials
The applicator you choose is just as important as the solution. Using the wrong tool can be ineffective and even dangerous.
Here are your best options:
- Cotton Balls: Ideal for wiping the visible parts of the outer ear after the solution has loosened debris. They are soft and highly absorbent.
- Gauze Pads: An excellent alternative to cotton balls because they are less likely to leave fibers behind in the ear. Their textured surface provides a better grip for removing stubborn buildup.
The material you use directly impacts the safety and effectiveness of the cleaning.
This table provides a clear, scannable guide to help you make the right choice every time.
Choosing the Right Cleaning Applicator for Your Dog's Ears
| Applicator Type | Best For | Pros | Cons / Cautions |
|---|---|---|---|
| Cotton Balls | Wiping the outer ear flap and visible crevices. | Very soft, highly absorbent, and inexpensive. | Can tear and leave small fibers behind in the ear canal. |
| Gauze Pads | General wiping and cleaning of the outer ear. | Lint-free, durable, and the slight texture helps remove debris. | Can be slightly less absorbent than cotton balls. |
| Soft Cloth/Towel | Drying the ear after cleaning and wiping away excess solution. | Reusable, gentle, and covers a large surface area. | May not reach into smaller folds of the ear as easily. |
| Cotton Swabs | NEVER for inside the ear canal. | NONE for internal use. | High risk of pushing debris deeper, compacting wax, or rupturing the eardrum. |
Your go-to tools for routine cleaning will be cotton balls and gauze pads. The absolute rule is to never insert any object deep into the ear canal.
A Critical Safety Rule: Never use cotton swabs (like Q-tips) inside your dog’s ear canal. You risk pushing debris deeper, compacting wax against the eardrum, or causing a painful rupture. Only clean the parts of the ear you can easily see.
A Pro Tip for a Happier Dog
Here is a practical step to make the process more pleasant. Ear cleaning solutions stored at room temperature can feel uncomfortably cold in a warm ear canal.
To prevent this, place the bottle of solution in a bowl of warm (not hot) water for a few minutes before you begin. Bringing the liquid closer to your dog's body temperature makes the sensation less jarring and can significantly improve their cooperation.
A comprehensive grooming routine includes more than just ear care. For other essential items, see our guide on the best grooming tools for dogs.
A Practical Guide to Cleaning Your Dog's Ears
Here is the step-by-step process for cleaning your dog’s ears. Success depends on a calm demeanor and proper technique. Your primary goal is to keep your dog comfortable and relaxed.
First, choose a quiet location, like a bathroom or a peaceful corner, away from household distractions. For small dogs, place them securely on your lap. For large dogs, sit on the floor with them, using your body or a wall to prevent them from backing away.
Before bringing your dog over, have all your supplies—solution, cotton balls or gauze, and high-value treats—within arm's reach. A smooth process depends on being prepared.
Having your toolkit ready allows you to focus entirely on your dog, which is key to a positive experience.
Applying the Solution and Massaging the Ear
Once your dog is positioned, gently lift one ear flap to expose the ear canal opening. Place the tip of the cleaner bottle at the entrance—do not insert it deep into the canal. Squeeze enough solution to fill the canal until you can see it pooling.
This next step is the most important part of learning how to clean dog ears: the massage. With the ear flap held up, use your other hand to firmly but gently massage the base of the ear for 20-30 seconds. You should hear a squishing sound. This confirms the solution is moving through the L-shaped canal and breaking up hidden wax and debris.
This massage is what does the actual cleaning, far more than a simple wipe alone.
The Head Shake and Final Wipe-Down
After massaging, release the ear, step back, and let your dog shake its head vigorously. Do not restrain them. This action uses centrifugal force to propel the loosened debris and excess solution out of the deep canal and into the outer ear where you can reach it.
Once the head shaking stops, take a cotton ball or gauze pad and gently wipe away all the visible fluid and debris from the ear flap and around the entrance to the canal. Remember the rule: only clean what you can easily see. Never dig into the canal.
Repeat the entire process on the other ear.
Actionable Insight: The "head shake" is an essential part of the cleaning process. It is nature's way of ejecting the debris you've just loosened. Encourage it.
Turning Cleaning into Quality Time
If your dog shows signs of stress, stop. It is better to break the process into smaller, positive steps. Start by letting them sniff the bottle for a treat. The next day, touch their ear with a dry cotton ball, then give praise and a treat. Building a positive association is the secret to long-term success.
Use a calm, reassuring voice throughout the process. Offer praise and high-value treats generously. Your goal is to make your dog associate the cleaning supplies with a positive reward. This consistency will transform ear cleaning from a struggle into a routine part of your life together, a core skill detailed further in our guide on how to groom your dog at home.
When to See a Vet for Your Dog's Ears
While routine cleaning is preventative, you must know when to stop and call your veterinarian. Home cleaning is for maintenance only, not for treating an active medical condition. Cleaning an infected or inflamed ear will cause severe pain and can worsen the problem.
Recognizing the difference between normal buildup and a serious issue is a critical responsibility. Your dog depends on you to identify red flags that indicate a problem is developing deep inside the ear.
Telltale Signs of an Ear Problem
If you observe any of the following signs, cease all at-home cleaning and contact your vet immediately. These symptoms indicate a potential infection, parasites, or a foreign body in the ear that requires a professional diagnosis and treatment.
- Foul or Sweet Odor: Healthy ears are virtually odorless. A yeasty, musty, or foul smell is a classic sign of infection.
- Excessive Discharge: Light brown wax can be normal. Dark, coffee-ground-like discharge suggests ear mites. Yellow or green discharge indicates a bacterial infection.
- Constant Head Shaking or Tilting: If your dog is persistently shaking or tilting its head, it is signaling significant discomfort.
- Pain and Sensitivity: A dog that yelps, whines, or pulls away when you touch its ears is in pain. Do not force the issue.
- Redness and Swelling: The skin inside the ear should be a pale pink. Significant redness, swelling, or sores require veterinary attention.
Actionable Insight: Your dog's behavior is your most reliable diagnostic tool. A sudden aversion to being touched on the head or persistent scratching at the ears demands investigation.
Proactive cleaning has a measurable impact. The global pet ear cleaners market was valued at nearly USD 850 million in 2023. Consistent home care can reduce the need for professional intervention by up to 65%, saving owners an average of $150 per vet visit for ear-related issues. For more detailed market data, you can explore the full pet ear cleaners market analysis.
If an infection is present, a vet visit is mandatory. They will diagnose the specific cause and prescribe the correct medication. You can learn about common treatments like antibacterial ear drops for infections, but never attempt to treat an infection without professional guidance.
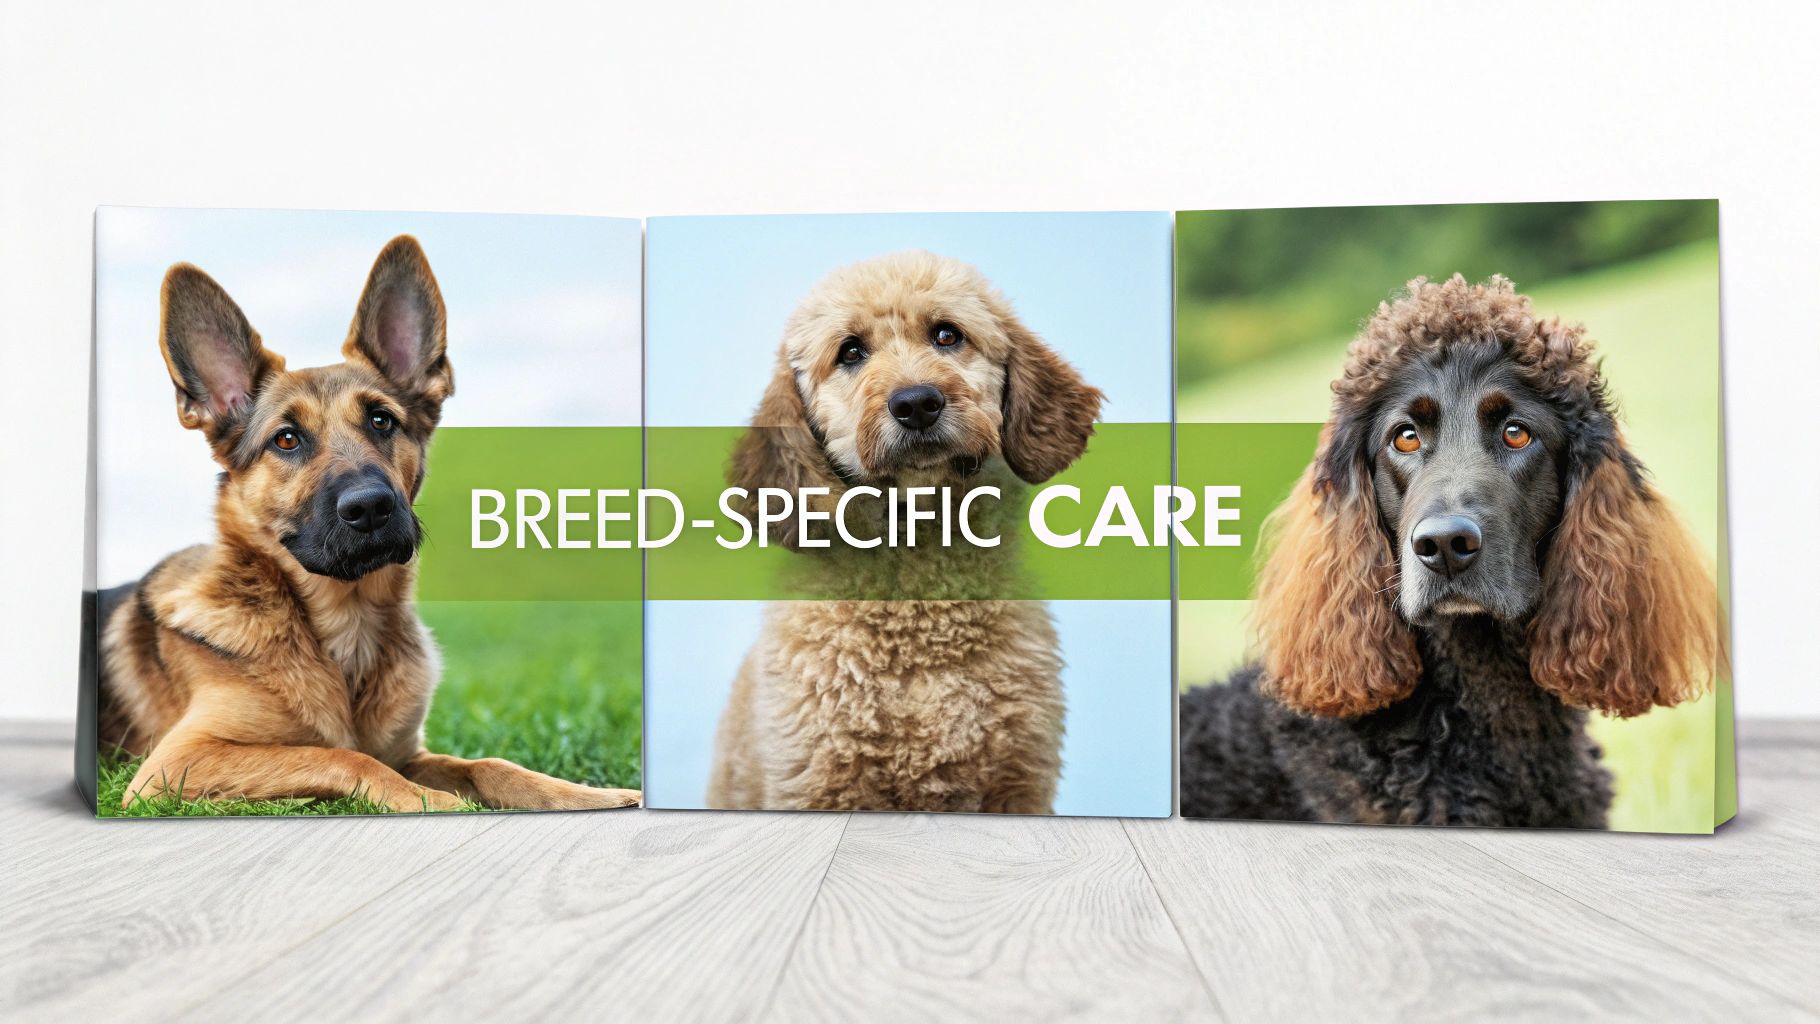
Not All Ears Are Created Equal: Customizing Care for Your Dog's Breed
A one-size-fits-all approach to ear cleaning is ineffective. A dog's breed and ear structure directly influence its susceptibility to problems. Tailoring your routine to your dog’s specific needs is the key to preventing issues before they start.
The market reflects this need for specialized care. Dogs account for 60.96% of the pet ear care industry, which is projected to reach USD 3.45 billion by 2030. This growth is driven by the 69 million dog-owning households in the U.S. who understand the importance of good ear hygiene.
Veterinary data shows that 16-20% of dogs experience an ear infection annually, with this figure rising sharply for certain breeds without proper, customized care. To understand these trends better, you can discover more insights on pet ear care here.
The Trouble with Floppy Ears
Breeds like Cocker Spaniels, Basset Hounds, and Beagles have long ear flaps (pinnae) that trap moisture and restrict airflow. This creates a warm, damp environment ideal for yeast and bacteria. For these dogs, a proactive, consistent routine is your best defense.
- Weekly Checks Are a Must: Inspect their ears weekly for redness, odor, or discharge.
- Clean Proactively: A gentle cleaning every 1-2 weeks can prevent buildup.
- The Post-Swim Rule: Always clean and dry their ears thoroughly after swimming. Trapped water is a primary cause of infection.
Managing Those Hairy Canals
Poodles, Schnauzers, and many Doodle mixes grow hair deep within their ear canals. This hair traps wax and debris, creating blockages that lead to infection. For these breeds, ear care is a two-step process involving both grooming and cleaning.
Actionable Insight: For hairy-eared breeds, hair removal is as important as cleaning. The hair can mix with wax to form a dense plug, making infection almost inevitable without regular maintenance.
The hair in the ear canal must be regularly plucked or trimmed. If you are not comfortable performing this delicate task, have a professional groomer or veterinarian do it. Once the hair is managed, a cleaning every 2-3 weeks is typically sufficient.
Upright Ears Have Their Own Risks
Breeds with upright ears, such as German Shepherds and Siberian Huskies, benefit from excellent airflow, which helps keep the canals dry. However, their open-ear structure acts like a funnel for environmental debris.
Dirt, pollen, and dangerous plant material like foxtails can easily fall into the ear during outdoor activities. For these dogs, perform a quick visual check after walks in tall grass or wooded areas. A full cleaning is usually only necessary once a month or when you see visible debris.
Common Dog Ear Cleaning Questions Answered
Even with clear instructions, practical questions often arise. Having direct answers builds confidence and helps you refine your routine. Here are the most common queries from pet owners.
The most frequent question is about frequency. There is no single answer; it depends entirely on your dog's breed, lifestyle, and individual ear health. A Basset Hound that swims may need weekly cleanings, while an indoor German Shepherd might only need it monthly.
Your best strategy is to check their ears weekly. Look inside for light brown wax or a faint musty odor—these are signs it's time to clean. Avoid over-cleaning, as this can strip the ear of its natural protective oils and cause irritation.
Clarifying Common Concerns
Many owners ask about using homemade solutions like vinegar and water. It is significantly safer to use a vet-approved commercial cleaner. These formulas are pH-balanced for a dog's sensitive ear canal and contain drying agents that help prevent moisture buildup after cleaning—a critical step in infection prevention.
Actionable Insight: Homemade solutions with vinegar or hydrogen peroxide are often too harsh. They can sting and irritate the delicate skin inside the ear, causing pain and making your dog resist future cleanings. Stick with professionally formulated products.
Another common point of confusion is the difference between ear wipes and liquid cleaners. Here is how to use them effectively:
- Ear Wipes: Use these for quick, surface-level cleaning. They are perfect for wiping debris from the outer ear flap and visible crevices. Use them for daily maintenance between deeper cleanings.
- Liquid Cleaners: This is your primary tool for preventative care. The liquid solution is necessary to flush the entire L-shaped ear canal, where the problematic wax and debris accumulate.
For a truly effective cleaning that prevents infections, you must use a liquid solution. An ideal routine incorporates both: the liquid for a deep clean as needed, and wipes for quick touch-ups.
At Pet Magasin, we understand that having the right tools makes all the difference in your pet's health and happiness. Explore our range of gentle, effective grooming supplies designed to make pet care a positive experience for you both. Check out our products at https://www.petmagasin.com.

Leave a comment